GS CurveTools
INTRO
GS CurveTools is a plug-in focused on creating Hair Cards, Tubes, Pipes, Braids and other similar tasks involving nurbs curves.
This tutorial covers only the basics of this plugin, however, it is more than enough to start using it correctly and discover other features on your own. For more in-depth information, refer to the Online Documentation.
Here is a quick tutorial covering some of the main features of GS CurveTools plug-in for Maya:
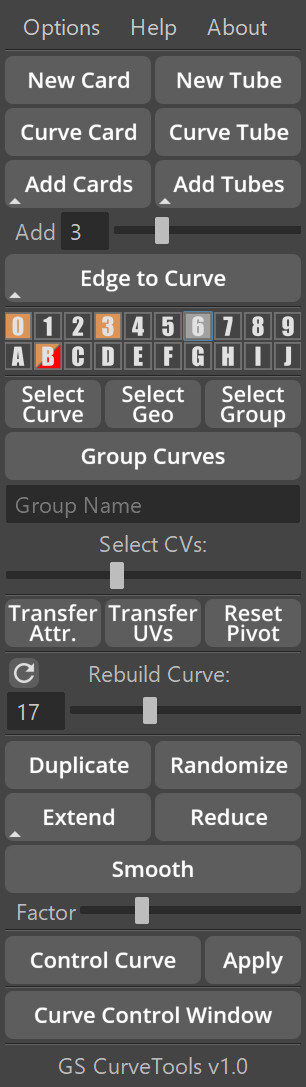
USER INTERFACE
GS CurveTools UI consists of three Shelf Buttons and a dockable menu that holds all the functional buttons as well as Options, Help and About menus.
CT UI - will open and close the main menu
CT Reset - will reset the menu to its default state
CT Del - will delete the menu and stop all the background activities
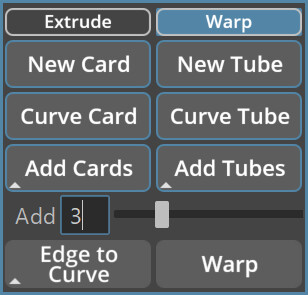
CREATE PROCEDURAL CARDS AND TUBES
You can quickly create curve cards or tubes using "New Card" and "New Tube" buttons. Curve card is a procedural geometry controlled by a single nurbs curve.
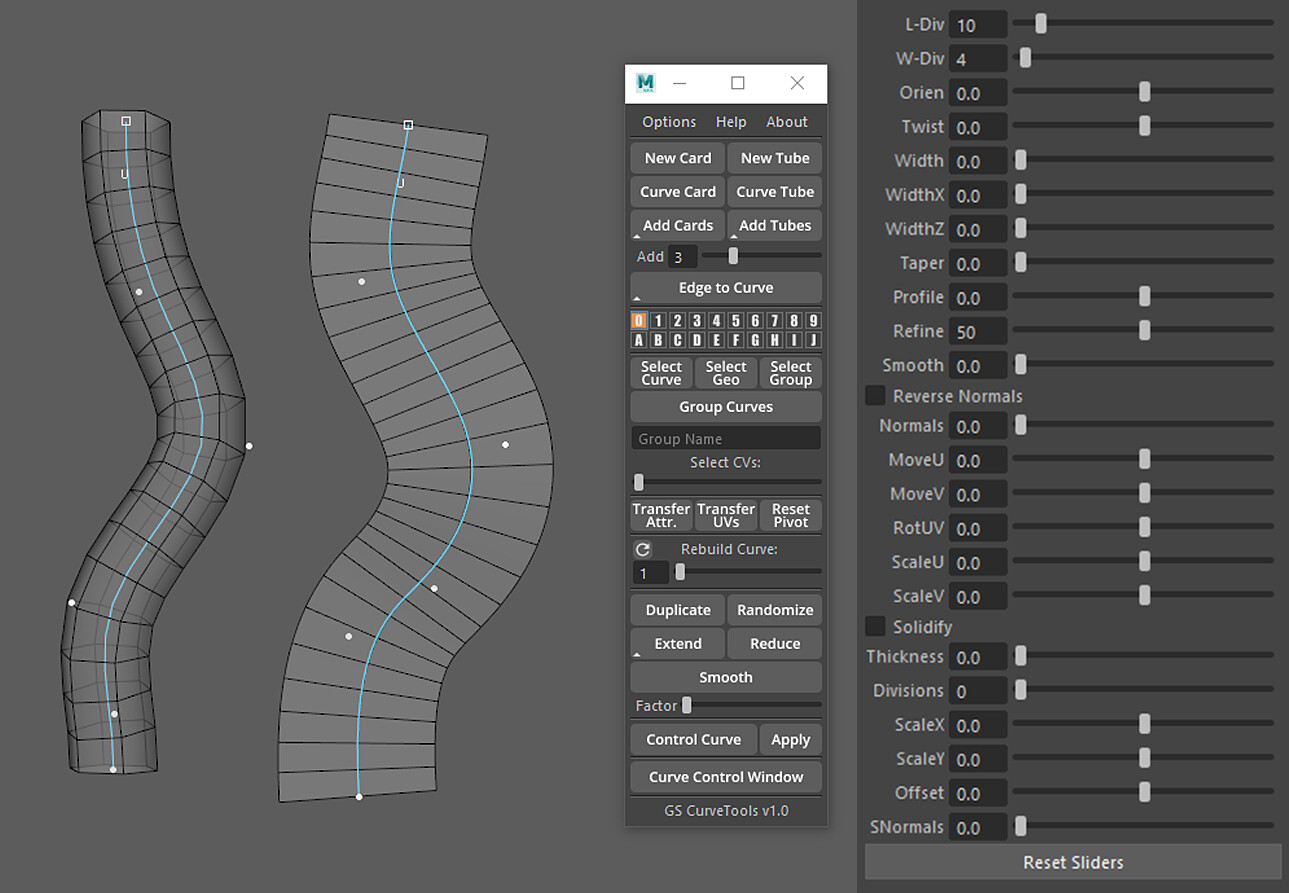
In curve cards or tubes there are a bunch of procedural settings that are available for you. You can find those settings in Channel Box in Maya or by opening "Curve Control Window" in the plugin itself.
With these controls you can change divisions, twist & orient, change width, taper of the procedural geometry and more... You can also procedurally control already existing UVs on the generated geometry. This allows for quick alignment of UVs to hair card textures or cable textures.
Solidify option will allow you do add thickness to your cards/tubes.
All the options are fully procedural, so you can change them at any time*
*complex procedural constructs (later) can have some limitations on geometry divisions change
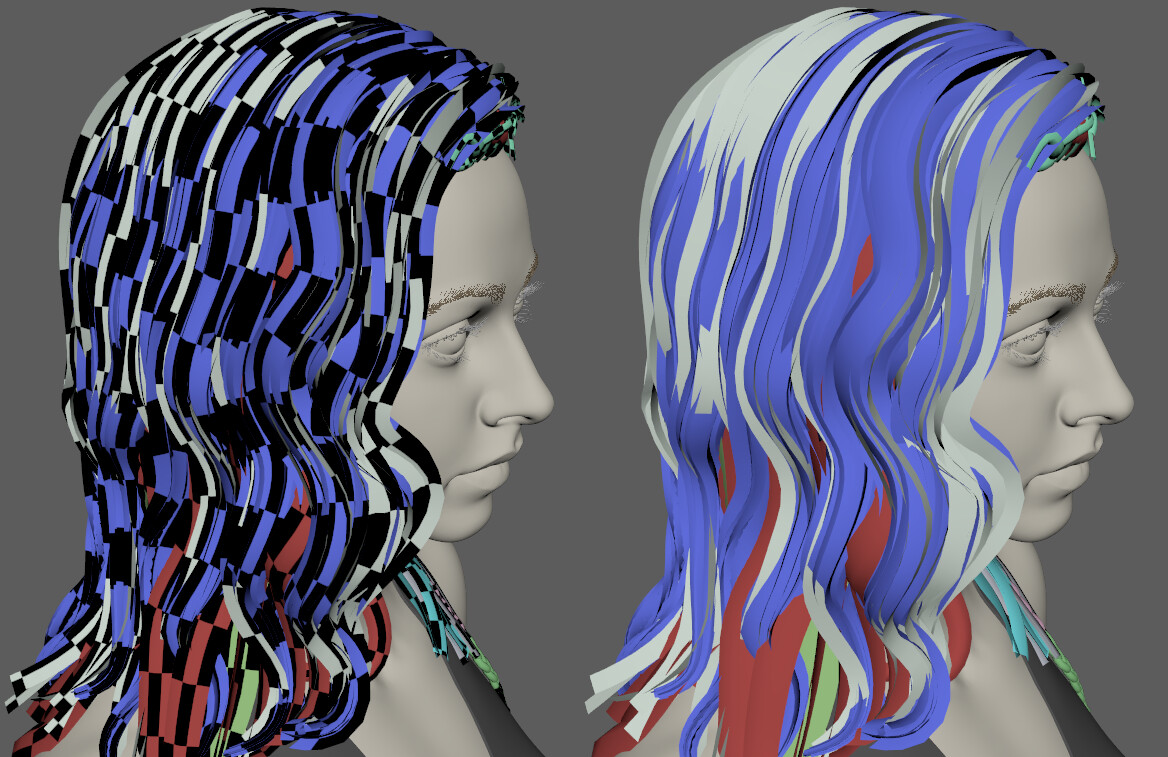
UV AND TEXTURES
In Hair Cards workflow (or if rendering Pipes or Tubes) it is important to quickly assign textures to your Hair Cards, as well as move UVs in a correct spot to capture the right part of texture.
The easiest way to quickly assign texture to Curve Card or Tube:
- Select the entire Curve Group (Press UP on your keyboard when Path Curve is selected),
- Click the RMB in the viewport
- Press Assign New Material or Assign Existing Material
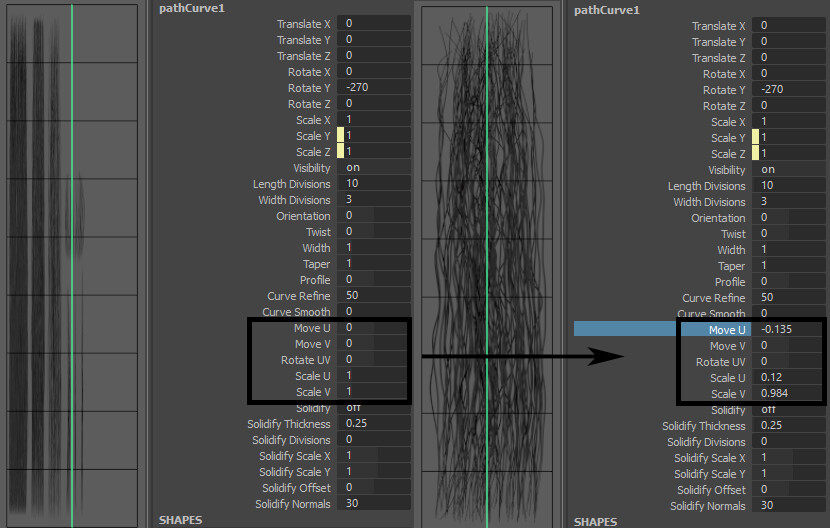
In GS CurveTools plugin, all the created geometry already has the correct UVs for this task. All you need to do is move them using MoveU, MoveV, Rotate UV, Scale U and Scale V sliders (or attributes in the Channel Box).
Warning: Do not move UVs manually in the UV editor, only use parameters in your Channel Box or Curve Control Window or you will loose procedural UVs for this curve.
Assign the texture and try moving MoveU, MoveV, Rotate UV, Scale U and Scale V sliders (or parameters in the Channel Box). See how texture is moving with them.
You can then transfer these UVs to any other Card or Tube using "Transfer UVs" button.
- Select Card or Tube from which you want to transfer the UVs
- Select any number of Cards or Tubes to which you want to transfer UVs
- Click Transfer UVs button in the GS CurveTools menu
CONVERT CURVES TO PROCEDURAL CARDS AND TUBES
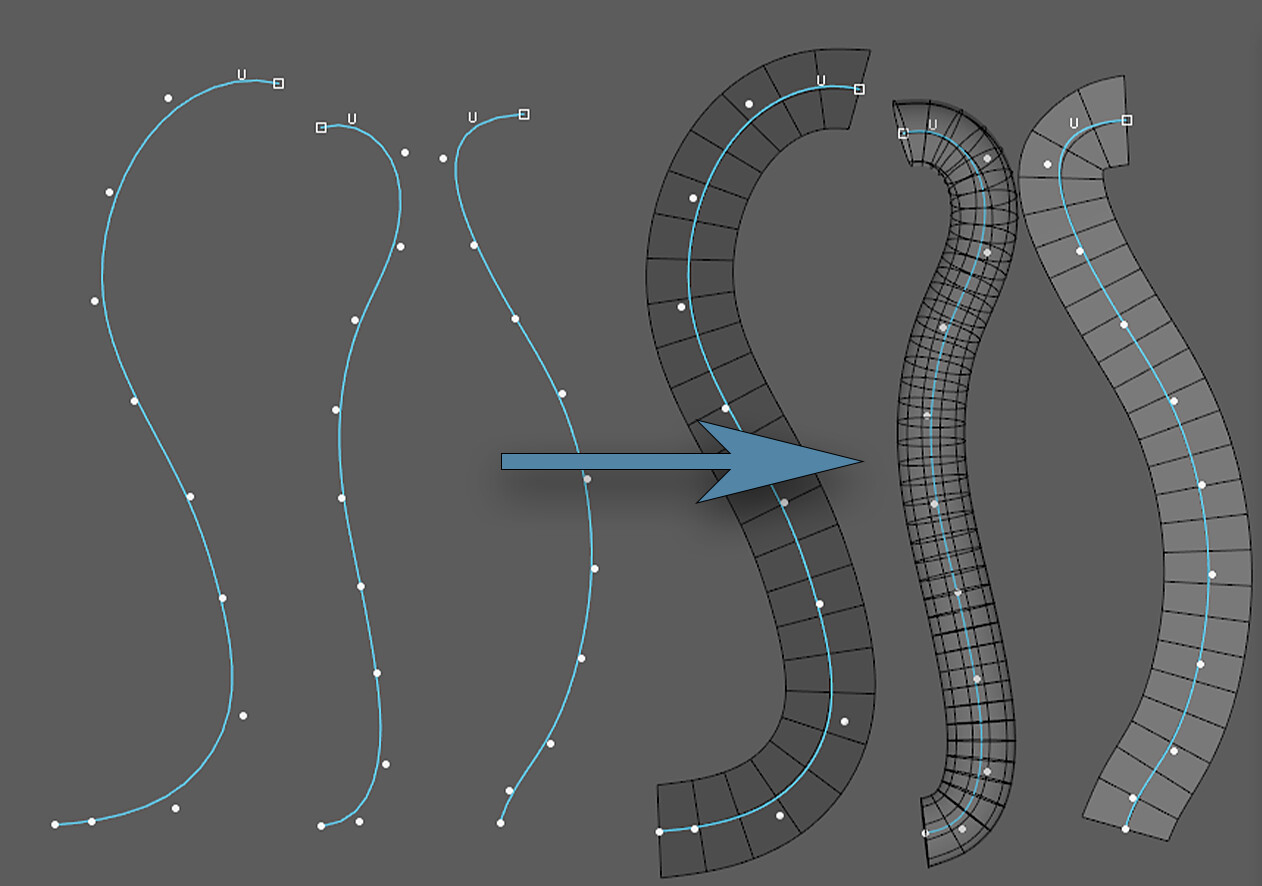
If you already have some curves in your scene, or you accidentally deleted the procedural geometry, it is very easy to convert already existing curves back to Curve Cards/Tubes.
Just select any number of curves in your scene and click "Curve Card" or "Curve Tube" button. This will create fully functional procedural Curve Cards and Tubes that you can then control just like any other Curve Cards or Tube.
WARNING: Do not use Curve Card/Curve Tube on instanced curves, it will have limited functionality or it will not work at all. Only real curves supported right now.
FILL EMPTY SPACE WITH CARDS AND TUBES
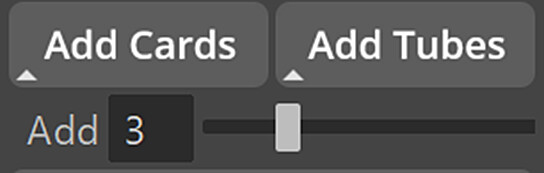
You can easily add new curve cards/tubes between already existing cards by using "Add Cards" or "Add Tubes" buttons.
This will not only create new cards/tubes, it will also smoothly blend curve paths between already existing curves as well as it will blend any attributes between those curves. This creates a natural transition between curves that is very useful when dealing with Hair Cards.
You can easily select the number of added cards/tubes with a simple "Add" slider.
Added Curve Cards/Tubes are fully functional and can be used as any other Curve Card or Tube.
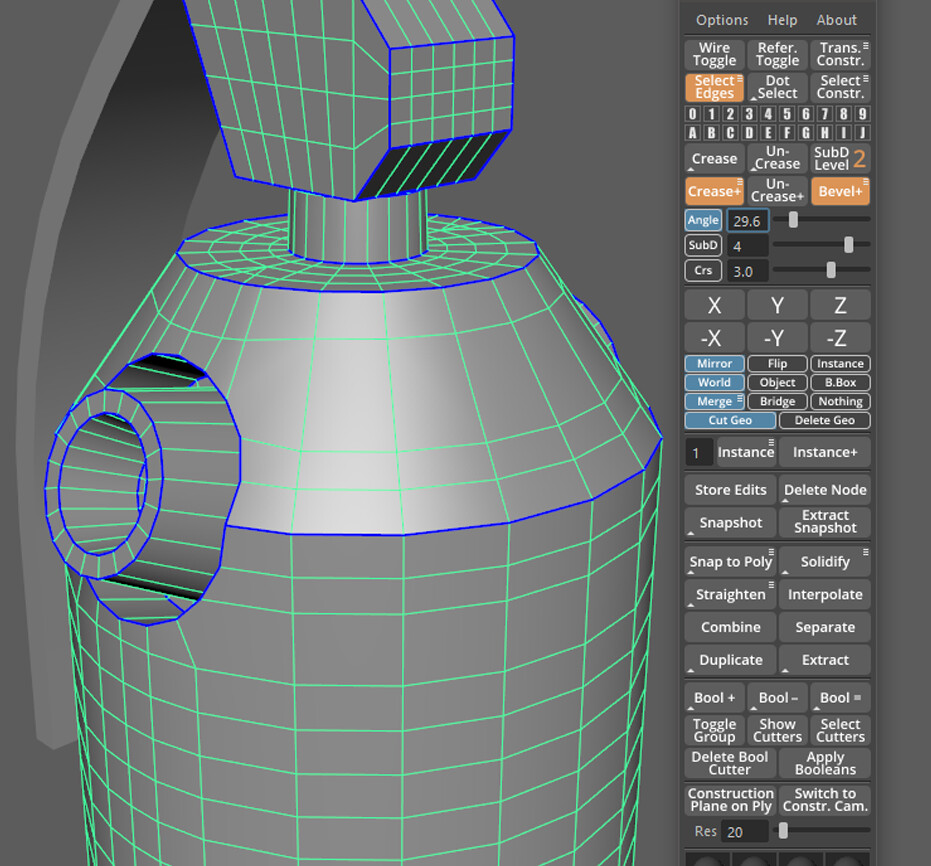
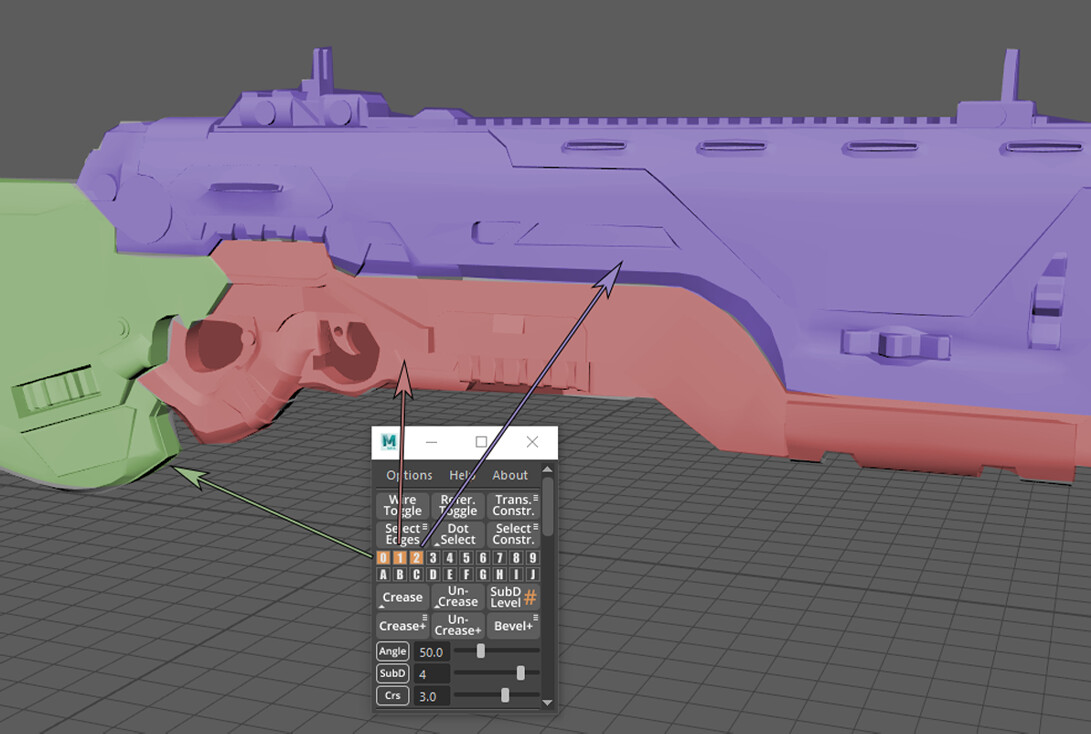
LAYER SYSTEM
When creating Hair Cards it is important to keep things organized. You can, of course, use outliner for this but in GS CurveTools there is a better way to organize your work.
Every curve card/tube must have a layer when it is created.
By default, all curves go to the layer 0. You can select between 20 layers by simply clicking on them before you create a new curve or you can transfer curves from layer to layer later, using marking menu.
Layer Controls:
- LMB click - select layer. This will Select layer for further curve creation
- Shift + LMB click on multiple layers - additively select curves. This will additively select curves in the selected layers
- Ctrl + LMB click replace selection. This will select only the curves in the selected layer
- Hold RMB on layer - Marking Menu with more options:
- Add Selection to Layer - will add any selected curves to this layer. Layers are exclusive so curve can only be in one layer at a time
- Select Curves/Geometry - will select curve or geometry component of all the Curve Cards/Tubes in the layer
- Toggle Layer/Curve/Geometry Visibility - self explanatory
- Toggle Geometry Edit - this option allows for selection and edition of the Curve Card/Tube geometry component
- Extract Geometry - will hide original geometry and add a group with extracted geometry without curves. You can then export it or edit further.
- Delete Groups and Curves - this option will completely delete anything in the layer and the layer itself. Be careful.
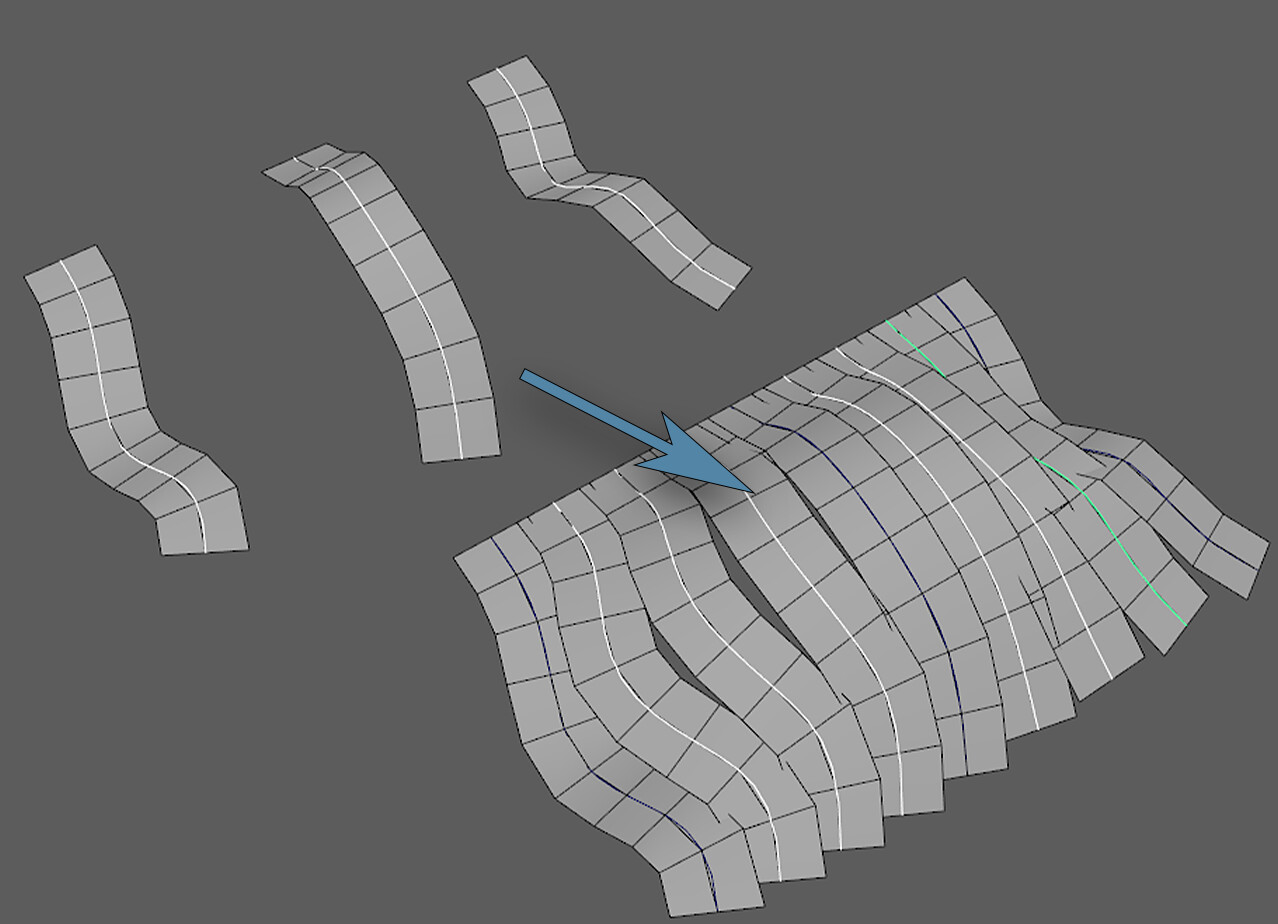
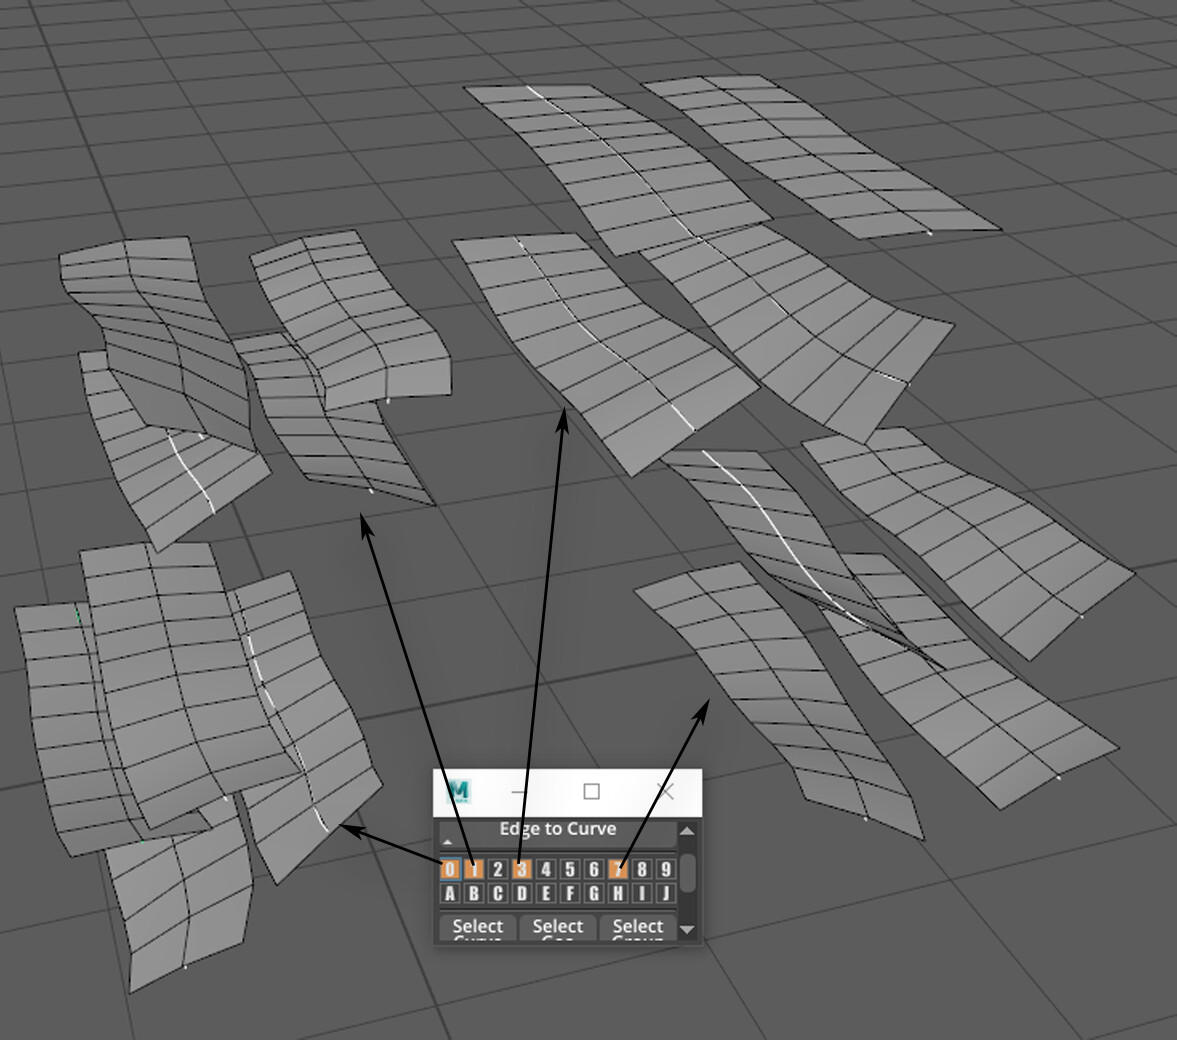
EDGE TO CURVE
You can easily convert any number of edge groups (unconnected edges) to curves using "Edge to Curve" option. This feature is fully procedural and keeps the construction history. This means you can use this feature to create even more complex curves, like braids:
- Select any number of edge groups
- Click Edge to Curve
To make a procedural braid:
- Create a Curve Tube in Layer 0
- Change Length Divisions to at least 100 and Width Divisions to 5
- Change Curve Refine to at least 100
- Enable Geo Editing for layer 0 (marking menu)
- Select four edges that go with the curve and expand selection to loop
- Click Edge to Curve
Warning, do not change Length or Width division of the original curve from this point.
- Disable Geo Editing for layer 0
- In layer 1 Create Curve Tubes using newly created curves
- Change Length and Width Divisions to something like 200 and 12. Change Curve Refine to 200.
- You can now adjust Curve Width X and Z to remove intersections
- Select the original curve tube (layer 0) and change the twist value to taste (you can manually type more than 360 degrees)
- You can additionally hide the original geometry from the layer 0 and curve from the layer 1 for ease of control.
Release Tutorial v1.1:
Update Tutorial v1.1:
You can find more detailed info in the Documentation